Showing posts with label ice cream. Show all posts

Friday, August 17, 2012

Frozen Cherry Ganache Cake


Pin It!

Boys/Men are the hardest to come up with gifts for. Every year at Christmas, it's a no-brainer that my Dad and little brother (who's no longer that little) get at least one box each of chocolate covered cherries. They practically inhale those things with their minds.


But what do you do when their birthdays fall earlier in the year, when you're wishing for something slightly refreshing but still packed with that decadent chocolate-cherry combination? Frozen ganache cake, that's what.


This is another one of those ice cream-esque cakes that melts a little differently than regular ice cream but is so rich and creamy. The cherries cut beautifully in the center layer, making for a very eye-catching presentation. Perfect to wow the birthday boy!

Plus, this is one of the easiest cakes of your life! The hardest part is exercising self-control as you wait for the layers to set!

Frozen Cherry Ganache Cake [click to print]
makes 3 mini loaves

  • 2/3 c. heavy cream 
  • 2 c. semisweet chocolate chips
  • 2 c. cherry pie filling
1) Line mini loaf pans with parchment paper, or one regular loaf pan, and set aside. 

2) Heat the cream in a small saucepan until hot but not boiling. Pour over chocolate and allow to sit about 30 seconds. Stir chocolate mixture until smooth. 

3) Divide chocolate among loaf pans, filling each about 1/3. Carefully spoon cherry filling over chocolate layer. Top each loaf with remaining chocolate and chill in freezer until firm. To serve, cut with a knife dipped in hot water. 

Thursday, June 28, 2012

Coconut Lime Semifreddo


Pin It!

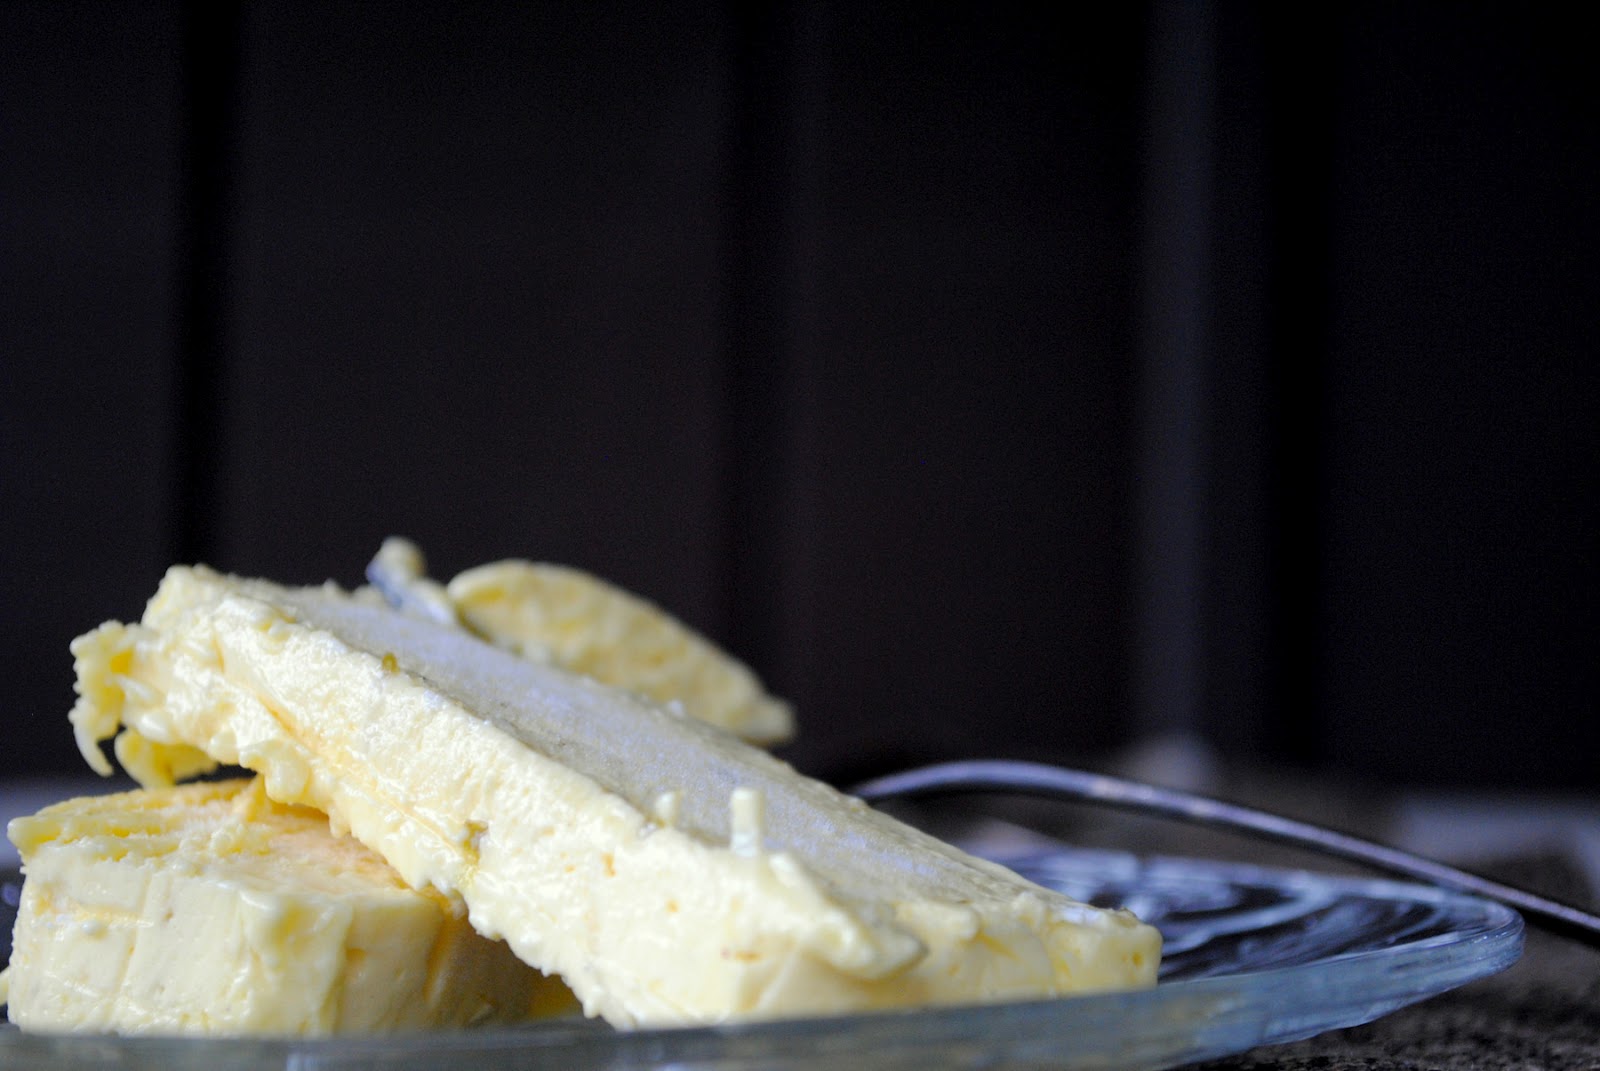
For those of us sharing a tiny apartment space but who simultaneously would happily give up an arm and probably a leg for a heaping serving of just about any frozen dessert but still don't have, or have space for, an ice cream maker, it's time to celebrate! (And everybody else can, too, because you're still gonna love this.) Hooray for semifreddo! Not really sure how to pronounce that word still, but I sure know how to make it and I'm even better at eating it!


I must warn you, though, before you dive into a perfectly creamy, flavor-packed vat of this stuff, semifreddo is an Italian ice cream (and no, it's not the same as gelato). It's custard-based, which means it's heavenly and creamy but it won't feel quite as chilly on your tongue as what we're used to here in the good old USA.


So instead of using an ice cream freezer, you pour the custard mixture in a loaf pan and then pop the whole thing in the freezer for several hours. If you want traditional, be sure to line your pan with parchment paper or plastic wrap before pouring in the custard so you can remove it from the pan once frozen and make beautiful slices. Or you can just scoop it out with a spoon. Either way is equally effective and delicious.


But oh, my goodness. This stuff is addictive! It's the kind of thing I have to make when I have someplace to take it so I don't sit on my kitchen counter with my head stuck in the freezer for "just a little taste" until suddenly the whole batch has disappeared. I mean, really, who does that?


Oh! And thanks again to that little sister of mine for taking these awesome pics for me!

Coconut Lime Semifreddo [click to print]
Makes one loaf


For the custard
  • 8 egg yolks, large
  • 1/2 c. sugar
  • 1-1/2 tsp. vanilla bean paste (OR seeds 1/2 vanilla bean OR extract)
  • 1/2 c. lime curd
For the cream
  • 1-1/2 c. heavy whipping cream
  • 1/2 c. shredded coconut, sweetened
Line loaf pan with plastic wrap or parchment paper and set aside.

For the cream mixture, stir together cream and coconut in small saucepan. Cook over medium high heat. Once boiling, remove from heat and cover; allow to steep for 1 hour. Strain cream mixture through a mesh sieve, returning about 1/4 c. coconut to mixture and discarding the rest. Allow to chill in refrigerator until cold while you prepare the custard. 

You're gonna need a double boiler, or makeshift version (my fave), to make the custard. Add an inch or so of water to a medium-size pot and bring to a simmer. In a medium heat-proof bowl (i.e. glass) or double boiler, whisk together yolks and sugar; place bowl over simmering water, making sure that the water level doesn't touch the bottom of your bowl. If it does, you will likely have nasty bits of cooked egg in your custard and that's gross, so just pour a little water out of the pot and continue.

Whisk the yolk mixture continuously until it thickens and the sugar has dissolved completely. If you dip a spoon in the mixture, it should coat the back with a nice, thick layer. Remove from heat and stir in vanilla and lime curd. Place a piece of plastic wrap over the surface of the custard and chill. 

Remove cream from fridge and whisk (by hand or by mixer) until soft peaks form. When the custard is cold, gently fold in the cream, about 1 c. at a time, until well incorporated. Pour mixture into prepared pan, pressing a piece of plastic wrap against the surface, and freeze until firm, about 5-6 hours. 

Tuesday, April 17, 2012

Creamiest, Richest Chocolate Ice Cream Ever


Pin It!

And, drumroll, please...no ice cream maker required! That means all you have to do is cook the base on the stovetop, whisk it up and freeze it up. Surprise!


So you have absolutely no reason to not make this dreamy stuff on a sweltering high-80-something-degree day in mid-April. And that's good news.


I would apologize for the overwhelming ratio of awesome photos to entertaining dialogue, but I'm not sorry. I was too busy stuffing my face to be more clever.


It's really a matter of self-preservation. My dear K-House still hasn't turned off the heat and on the a/c so it's a bit warm up here on the top floor! I basically have to consume such an exorbitant amount of ice cream to simply counteract the extreme heat so I don't pass out.


I'm sure you can come up with a similar excuse.


Oh, and thanks to that sweet sister of mine for (mostly) patiently taking hundreds of pictures this weekend. What can I say, I was in the baking mood and she's got mad photo skills. Woot.


And, yes, those are rainbow sprinkles showering down from the heavens. 


Creamiest, Richest Chocolate Ice Cream Ever (no ice cream maker required!) [click to print]
Makes about 1 quart
  • 14 oz. (1 can) sweetened condensed milk
  • 3/4 c. whole milk
  • 3/4 c. heavy cream
  • 1 c. semisweet chocolate chips
  • 1/4 c. cocoa powder (use a really good kind, it makes a difference)
  • 1 tsp. vanilla bean paste (or extract)
  • pinch of salt
  • 5 tsp. potato starch*
  • 2 T. cold water
In heavy bottomed saucepan, whisk together condensed milk, whole milk and cream. Bring to a boil over medium-high heat. Remove from heat and add chocolate, cocoa, vanilla and salt. Stir until the chocolate is completely melted and the cocoa is fully dissolved.

In small bowl, stir together starch and water until dissolved. Whisk into chocolate mixture and return to medium heat. Cook mixture, whisking constantly; be sure to scrape sides and bottom to prevent burning. Continue cooking and whisking until mixture thickens, about 8-10 minutes. It will thickly coat a spoon and be about the consistency of warm Nutella and if you don't know what that looks like, you aren't living.

Pour mixture into heat proof bowl and allow to cool uncovered for 30 minutes. When bowl is cool enough to handle, cover with plastic wrap (don't press to surface of chocolate) and refrigerate overnight.

Remove from refrigerator and whisk to dissolve any skin that may have formed. Press plastic wrap against surface of ice cream to create an airtight seal. Cover bowl with lid or another piece of plastic wrap and freeze until firm enough to scoop.

*Can substitute with cornstarch if you want, but I prefer potato starch because it has a less noticeable flavor.

Source: Adapted from A Cup of Jo

Tuesday, February 14, 2012

Chocolate Syrup


Pin It!

It's not that I'm an all-natural, no nonsense, organically obsessed foodie. Let's be honest, I'm american and I love a few preservatives every now and then. But when I read through the labels on my favorite ice cream toppings, things get a little gross...and confusing. I mean really, what do they really mean by "chocolate flavored" and "polycarbonate double helixed monounsaturated diphosphides"? Okay, that last one might not be straight from the ingredients label. But do we really need all that stuff to get a real chocolate flavor? And all the food coloring?


Seriously.


Here's a simple recipe for a simple pleasure. Just your regular, run of the mill, no preservatives added, homemade rich chocolate syrup. Drizzle it on ice cream, in chocolate milk or serve it warmed up as fondue for your soon-to-be chocolate covered strawberries and/or fingers. But whatever you do, you better enjoy it while it lasts!

Chocolate Syrup [click to print]
Makes about 2 cups


1-1/4 c. sugar
1 c. cocoa powder
1 c. water
2 tsp. vanilla extract
1/4 tsp. salt


Sift cocoa into medium saucepan. Whisk in sugar and salt. Add water and cook on medium heat. Bring mixture to a boil for 4-5 minutes, until mixture is slightly thickened. Stir frequently to prevent scalding. Remove from heat. Allow mixture to cool about 5 minutes before adding vanilla. Store in airtight container in fridge.

Source: 52 Kitchen Adventures
Related Posts Plugin for WordPress, Blogger...