Thursday, February 9, 2012

Easy Texas Sheet Cake


Pin It!

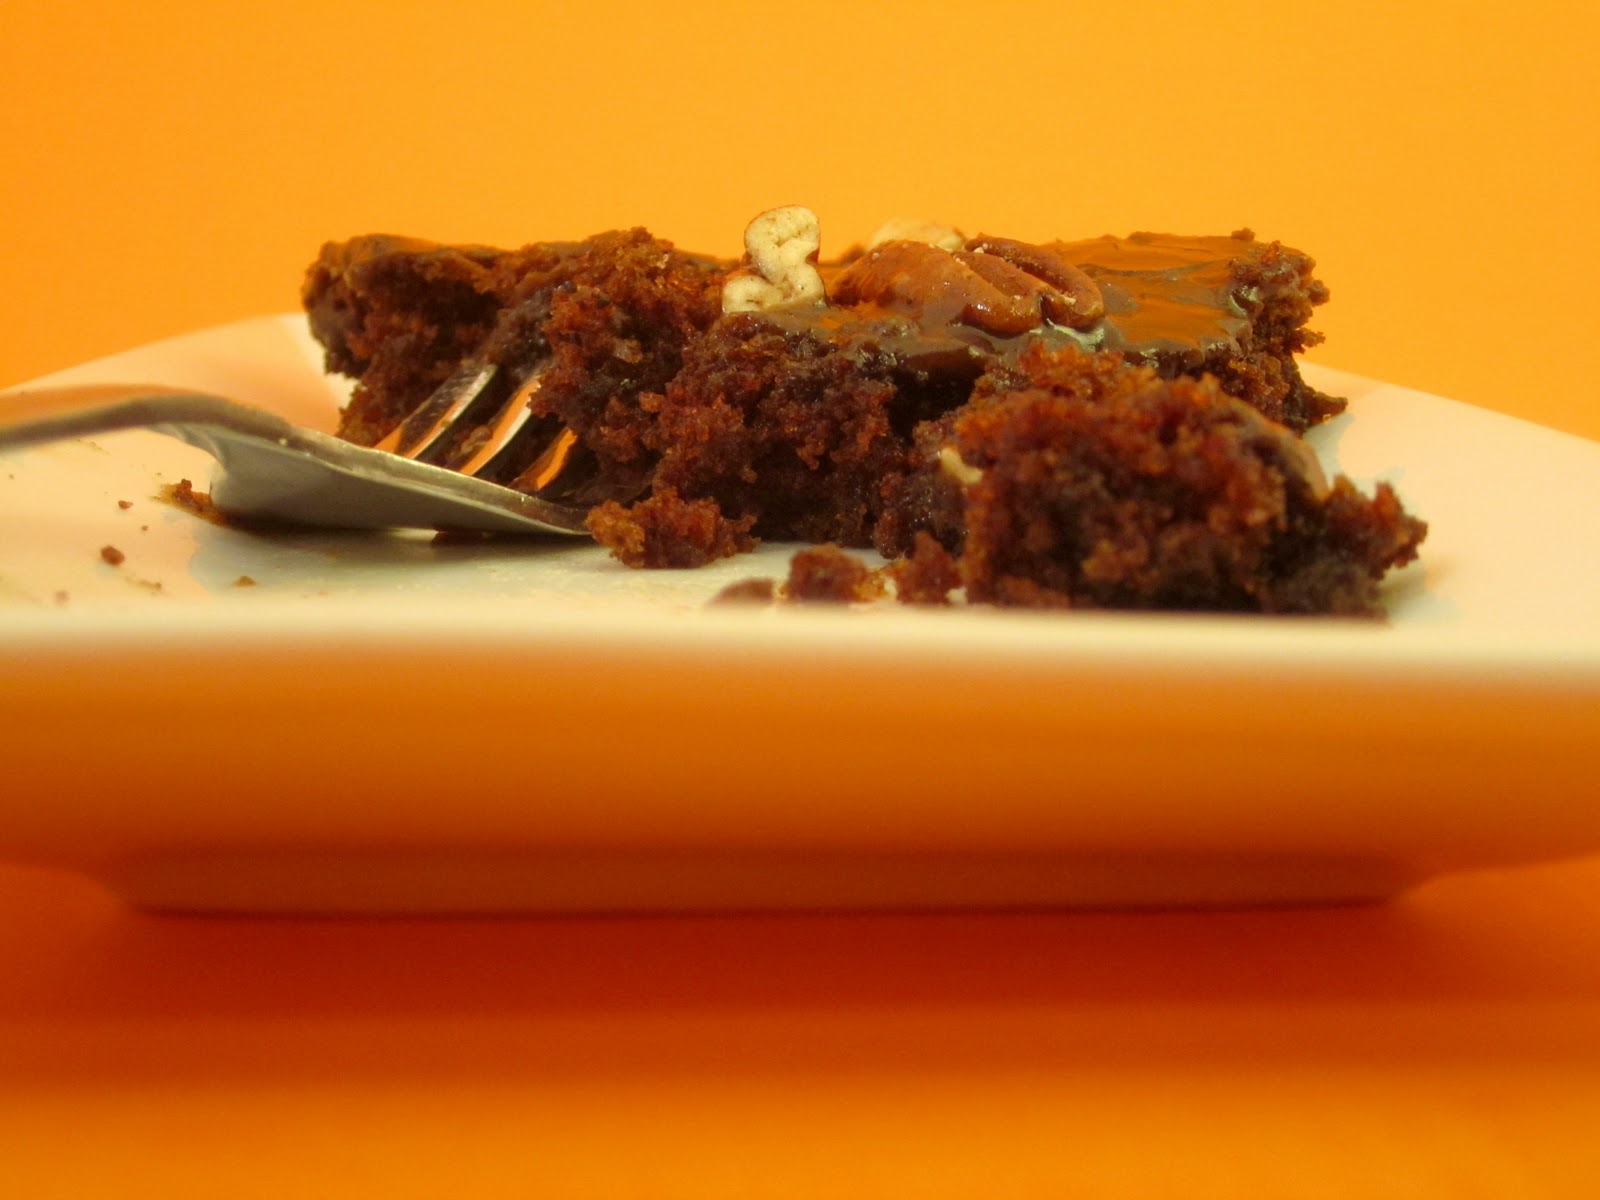
Seriously, the way my friends rave about dessert that is so fast and easy makes me with twice about even attempting something that might require a significant effort. I had this cake mixed, baked, frosted and taste-tested in under an hour. Yummers.


Even my skinniest friend kept sneaking pieces, but I stopped counting after three...or four...


So maybe this isn't the healthiest, but it is certainly one of the tastiest chocolate cakes I've devoured! Plus it doesn't require any weird ingredients and yet it is extremely addictive. I blame it on the butter. And the fact that your thighs may expand after you try this recipe, I blame on my friend Nicole, who first introduced me to Texas Sheet Cake during college whenever we needed something to whip up and share with a crowd!

Easy Texas Sheet Cake [click to print]
Makes 24 generous servings


For the Cake: 
2 c. flour
1/3 c. cocoa powder
1 tsp. baking soda
1/2 tsp. salt
1 c. hot water
1/2 c. buttermilk
1 tsp. vanilla extract
2 c. sugar
3/4 c. unsalted butter, softened
2 eggs, large

For the frosting: 
1 c. pecans, finely chopped and toasted (optional, but real Texans love pecans)
3/4 c. unsalted butter
1/3 c. cocoa powder
6 T. milk
1 tsp. vanilla extract
3-1/2 c. powdered sugar

Preheat oven to 350 F. Line a 13x18" jelly roll pan with parchment paper or spray generously with nonstick cooking spray.

Whisk together flour, salt, cocoa and soda; set aside. In another small bowl, whisk together water, buttermilk and vanilla; set aside.

See all those little air pockets just waiting to be filled with frosting?!
In a large mixing bowl, cream sugar and butter. Add eggs. Alternate adding dry mixture and liquids in about three additions. Continue mixing until well incorporated and smooth. Pour batter into pan and bake 20-28 minutes.


While the cake is baking, get going on that deliciously decadent frosting! Melt butter in a saucepan. Add cocoa and stir to combine. Remove from heat. Stir in milk, vanilla and powdered sugar; whisk until nice and smooth. Pour frosting over warm cake and spread evenly.


Sprinkle nuts across the cake and allow to cool until it won't burn your mouth up. Cut into squares and enjoy like crazy!

Source: Adapted from The Pioneer Woman

Tuesday, February 7, 2012

Almond Swirl Sugar Cookies


Pin It!

I admit it, I've eaten my fair share of those store bought sugar cookies. You know the kind. Perfect cookie circles taunting you with thick, rich frosting. I was always disappointed, though, by that cookie. Even though it's soft, it's also dry and crumbly. Not my favorite. 


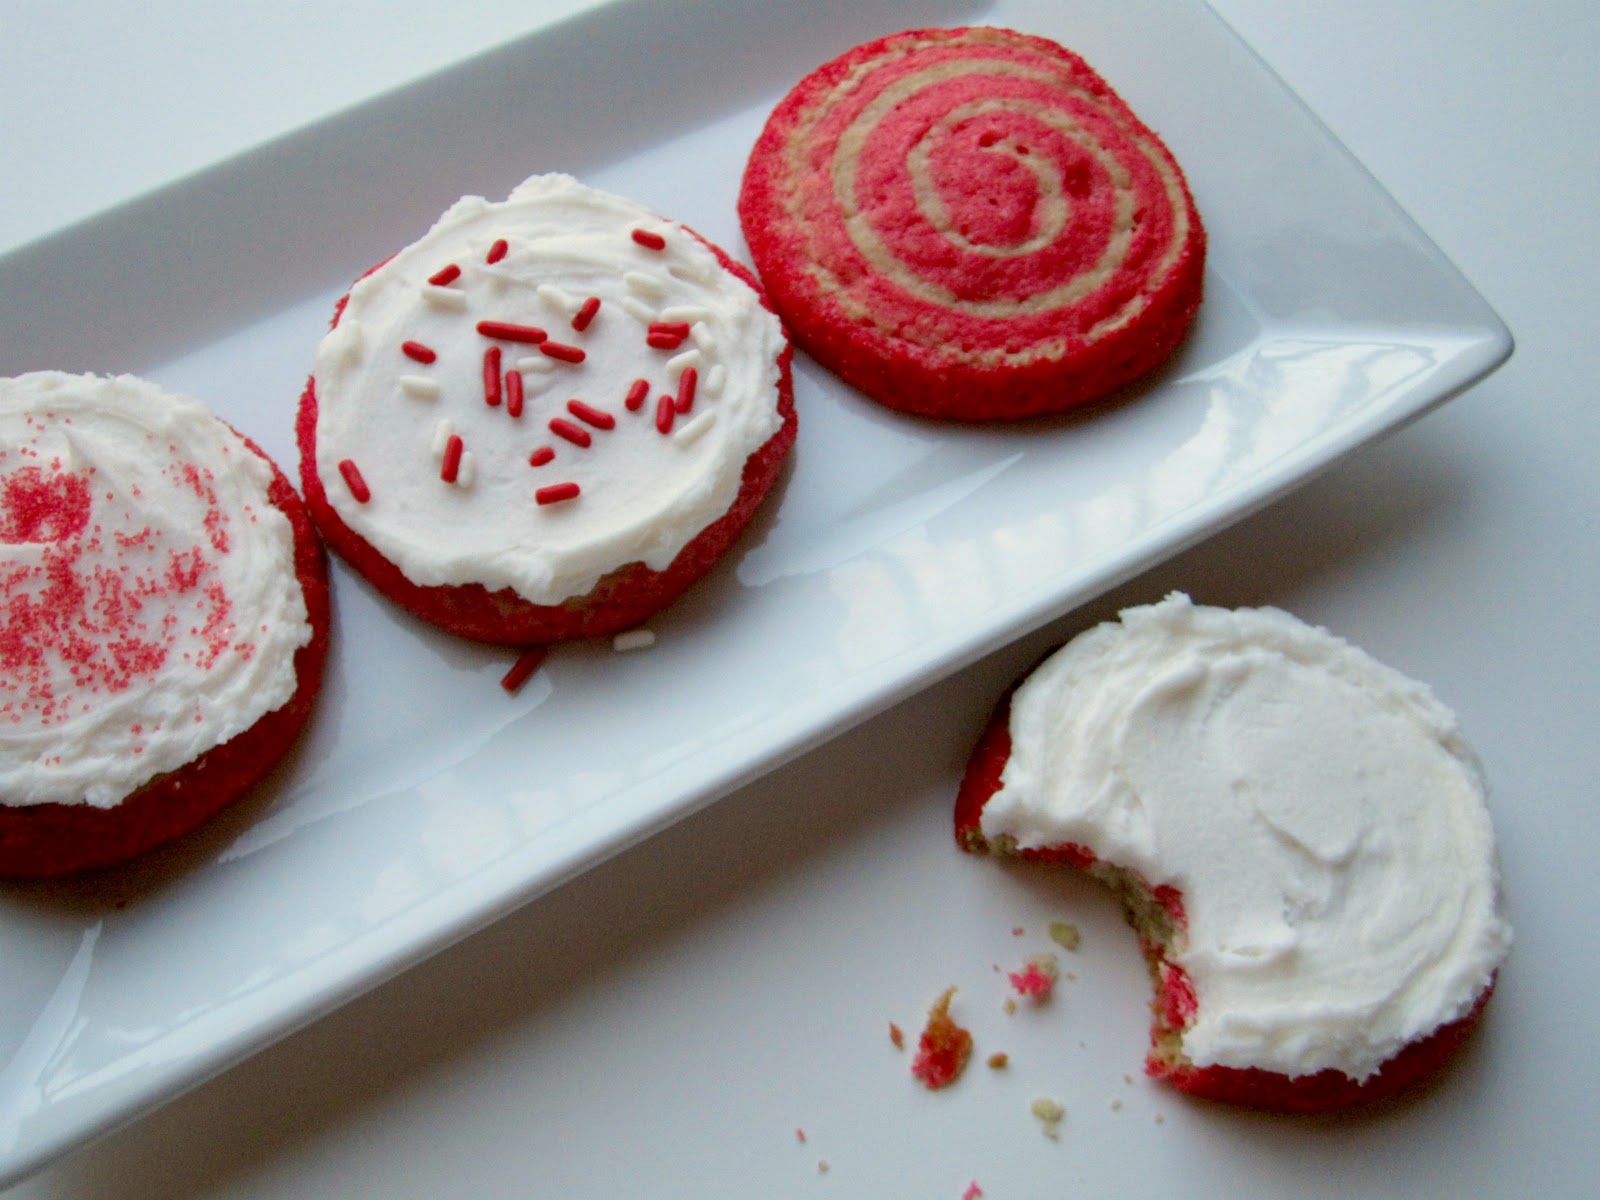
The secret in this recipe is sour cream. It keeps these cookies nice and soft and moist. 
Just change up your choice of food coloring and sprinkles to make these cookies perfect for any holiday!


Almond Swirl Sugar Cookies [click to print]
Makes about 3 dozen cookies


2-3/4 c. flour
1 tsp. baking soda
1 tsp. nutmeg
1/2 tsp. salt
1/2 c. unsalted butter, softened
1 c. sugar
1 eggs
2 tsp. vanilla extract
1 tsp. almond extract
1/2 c. sour cream
10-15 drops red food coloring

Whisk together flour, soda, nutmeg and salt; set aside. Cream butter and sugar. Add eggs and vanilla. Add sour cream and extract. Add dry ingredients and mix until well combined. Scoop about half of dough into separate bowl and set aside. Add food coloring to remaining dough and mix well.

Press each half of dough onto a separate piece of parchment paper, flattening to a rectangle about 1/4 inch thick. Slide parchment and dough onto baking sheets and chill about 30 minutes.


Remove chilled dough slabs from refrigerator. Run a rolling pin over each slab to even out the surface. Peel parchment off red dough and stack directly on top of white dough. Use a pizza cutter or knife to trim edges to make even rectangle. Beginning at one end, tightly roll dough like a cinnamon roll. If there's an open space in the center, gently press and rock the dough back on forth on the counter until it seals as shown below.

Generously coat outside with red sugar sprinkles. Cover entire dough roll with plastic wrap and refrigerate about 30 minutes. Preheat oven to 375.


Remove dough from plastic wrap and slice cookies about 1/4 to 1/3 inch thick. Place on baking sheet lined with parchment paper about 2 inches apart. Bake at 375 for 6-8 minutes. They won't look done! They should still be pale but puffy in the center and look just a tiny bit wet still. Allow to cool about 5 minutes on baking sheet, then move to wire rack to complete cooling.

These cookies taste great with thick buttercream frosting!


Source: Adapted from Peppermint Plum

Monday, February 6, 2012

Sweet Sixteen: Valentine's Day


Pin It!
Ah, yes. The holiday of love. I had a bunch of friends in college that absolutely hated V-day. Instead they'd celebrate SAD (Singles Awareness Day), which is somewhat depressing in its own right. I see nothing wrong with pink and red and hearts all over the place. And so, despite my current singleness, take a look at this week's photo roundup, and by all means, feel free to test out a recipe and drop it by my door!


Thursday, February 2, 2012

Groundhog's Day


Pin It!
I love holidays, as you may have noticed. Groundhog's Day is a big deal when you grow up in Pennsylvania. Mr. Punxsatawney Phil lives in that wonderful state! And every year, the mayor of Punxsatawney, PA drags that poor sleeping groundhog out of his burrow to predict how much longer the bitter winter will last. Cross your fingers for an early spring!


What could possibly make this rodent-dedicated holiday any better? Groundhog pops, of course! If you're looking for something even more decadent than these cute little groundhogs, try using them as a cupcake topper! And if you're against candy with preservative-laden ingredient lists, check back soon for a homemade almond joy recipe!


Oh, and not only is Groundhog's Day fun (and a little funny) but it practically belongs to my oldest brother. Happy Birthday, Chip! You're one year more awesome today!

Groundhog Pops [click to print]
Makes about 20 pops


1 bag snack size Almond Joy candy bars, unwrapped (about 20 pieces)
20 lollipop or mini popsicle sticks
20 red or pink dragees
1 bag M&M minis
1 tube black decorator's gel
1-1/2 c. white frosting in piping bag or ziploc baggie with end snipped off
1/2 c. chocolate chips, melted in ziploc baggie with end snipped off


Insert one stick about 2" deep into each candy bar and arrange on wax paper. Squeeze a small triangle of melted chocolate on the upper half of the almond. Place two brown mini M&M's on the corners of the triangle for cheeks. Place a red dragee on the point of the melted chocolate for a nose.


Pipe a small white rectangle of frosting under the cheeks for buck teeth. If you want the edges to be sharper, allow to set a few seconds, then shape with a toothpick. Pipe two white eyeballs above the almond. Use a toothpick to dab a small dot of black decorator's gel onto each eyeball.


Squeeze a small blob/triangle on the top corners of each candy for ears. Poke lollipop stick in a stand, or apple, like I used, and allow ears to set in the refrigerator. Repeat with remaining candy bars and experience some Groundhog's Day Joy!

Source: Adapted from Sweetology 101
Related Posts Plugin for WordPress, Blogger...