Wednesday, January 23, 2013

Microwave Salted Butter Caramel


Pin It!

I'm not gonna lie to you. Every once in a while, I eat cheap store cookies. I'm not talking Oreos, here. I mean those really cheap $2 giant store brand packs that are so full of artificial ingredients that you can practically feel your body getting preserved with each bite. And yet, I still give in. But when you're craving something fast and good, you can't beat homemade. I don't think I need to convince you of that.


I'm sure at this point your eyes are rolling around in your head, totally unconvinced that something so delicious as homemade caramel could actually be fast and easy. But it's true, my dear friends! Take 10 minutes and give this a try. You, and everyone around you, won't be sorry!

Microwave Salted Butter Caramels [click to print]
Makes about 3 dozen caramels
  • 1/2 c. granulated sugar
  • 1/2 c. brown sugar
  • 1/2 c. corn syrup
  • 1/2 c. sweetened condensed milk
  • 1/4 c. salted butter, melted
  • 1/4 tsp. salt
  • 1 tsp. vanilla
  • 1/4 to 1/2 tsp. coarse salt
1) Line square pan with parchment paper, allowing at least 2" overhang on each side of pan. For normal caramels, use 8x8" pan, or 6x6 for thicker caramels. If you're going to sub foil for parchment, be sure to coat foil surface very generously with nonstick cooking spray.

2) In a large microwave safe bowl (emphasis on the large...this mixture will bubble up a lot as it's cooking so you'll want a bowl with taller sides), stir together sugars, syrup, milk, salt and butter until well combined.

3) Microwave on high for 6-8 minutes, stirring every 2 minutes for first six minutes, then each minute thereafter. For soft, chewy caramels, microwave 6-7 minutes. For firmer caramels (still chewy!) that hold their shape well, microwave 8 minutes.

3) Stir in vanilla and pour into pan. Sprinkle lightly with coarse salt and allow to cool until firm or place in refrigerator for about 1 hour. Remove caramel slab from pan by lifting parchment overhang. Use a sharp knife to cut caramel into small pieces and wrap in parchment paper or plastic wrap to store.

Source: Adapted from The Yummy Life

Wednesday, January 16, 2013

Chocolate Peppermint Sugar Cookie Bars


Pin It!

I went for a run after work today wearing my hot pink jacket. Normally, hearing the radio announce that it is a bitter 33 degrees outside would keep me cozied up inside, but I found determination and got my rear in gear.


And then I baked. Mostly because I've been stressed and baking seems to help, but also because the second I stopped running I got really cold and then found out that my heater was broken. Boo.


So here's to a well-earned pan of chocolate and peppermint deliciousness! These bar cookies are fast and easy and very moist. If you're not big on frosting, first of all, I feel sorry for you, and second of all, you can skip it and you'll probably be survive.

Chocolate Peppermint Cookie Bars [click to print]

For cookies: 
  • 1-1/2 c. flour
  • 1/3 c. cocoa powder
  • 1/2 tsp. salt
  • 1/4 tsp. baking powder
  • 1/2 c. unsalted butter, softened
  • 1/2 c. granulated sugar
  • 1/4 c. brown sugar
  • 1 egg, large
  • 1 tsp. vanilla extract
  • 1/2 c. peppermint bark, coarsely chopped
For frosting: 
  • 1 c. unsalted butter, softened
  • 4 c. powdered sugar
  • 1/4 tsp. salt
  • 3-4 T. heavy cream
  • 1 tsp. peppermint extract
  • 1 tsp. vanilla extract
  • gel food coloring (optional)
1) Preheat oven to 350 F. Line 9x13 cake pan with parchment paper, allowing about 2" overhang on each side of pan, or coat with nonstick cooking spray, and set aside. 

2) Whisk together flour, cocoa, salt and powder; set aside. In mixing bowl, beat butter, sugars, egg and vanilla until well combined. Gradually add flower mixture, in about three additions, and continue mixing until smooth.

3) Press dough into prepared sheet pan and sprinkle peppermint bark over top of dough. Bake for 13-15 minutes or until the cookie surface is no longer shiny and the edges look dry. Allow cookies to cool in pan about 10 minutes. Pulling on parchment overhang, lift cookies from pan and allow to cool completely on wire rack. 

4) For frosting, whip butter in stand mixer until smooth. Add about half the powdered sugar and 2 T. cream. Add remaining powdered sugar and gradually add cream, mixing well between each addition until desired consistency is reached. You want it to form soft peaks. Add extracts and food coloring then frost cookies when completely cool. Cut into bars and serve!

Source: Adapted from Mountain Mama Cooks

Wednesday, January 2, 2013

Thick and Chewy Brown Butter Oatmeal Cookies


Pin It!

Unfortunately for my waist line, I have the bad habit of feeding my feelings with delicious (and occasionally average) desserts. My family has been struggling with some sad, hard things lately, so cookies are kind of a staple.


Last month when I was home for a visit, my mom reminded me how much she loved my Big Fat Chocolate Chip Cookies, made with a generous serving of brown butter, and gently suggested that an oatmeal cookie version would probably be one of the tastiest things in the world.


Oh, mom. You are right again!

Thick and Chewy Brown Butter Oatmeal Cookies [click to print]
Makes a lot...I let some ravenous friends/family start devouring before I counted...I'll update you when I have more self control!
  • 1 c. unsalted butter
  • 1 c. brown sugar, packed
  • 1 c. granulated sugar
  • 2 eggs, large, lightly beaten
  • 3 c. old-fashioned oats
  • 1-1/2 c. flour
  • 1/2 tsp. baking powder
  • 1/2 tsp. salt
  • 1/2 tsp. nutmeg
  • 1/4 tsp. cinnamon
1) Preheat oven to 350 F. Line baking sheet with parchment paper or coat with nonstick cooking spray and set aside. 

2) Brown the butter. To do this, heat butter in saucepan over low heat, stirring continuously, until the butter turns a golden brown color. It's totally normal for it to hiss and bubble a lot in the first few minutes, but then it will calm down and look a little frothy on the surface. Watch closely at this point, and keep heating until the butter turns a dark gold color. This will take about 15-20 minutes. Remove from heat and allow to cool to room temperature.

3) Combine butter and sugars in mixing bowl and cream until well combined. Slowly add eggs, in about two additions, mixing well between each addition. Whisk together remaining ingredients and slowly add in about three to four additions, scraping sides as needed. 

4) Scoop dough by heaping teaspoons onto baking sheet, spacing about 1-1/2" apart. Bake 7-8 minutes or until tops of cookies are no longer shiny. Or...you can go for gigantic cookies and scoop by 1/4 c. dough but you'll definitely be baking them longer, so keep an eye on them until the tops aren't shiny and the edges are just barely set. Allow to cool on baking sheet about 1-2 minutes before transferring to a wire rack to cool. 

Source: Adapted from Tracey's Culinary Adventures

Monday, December 31, 2012

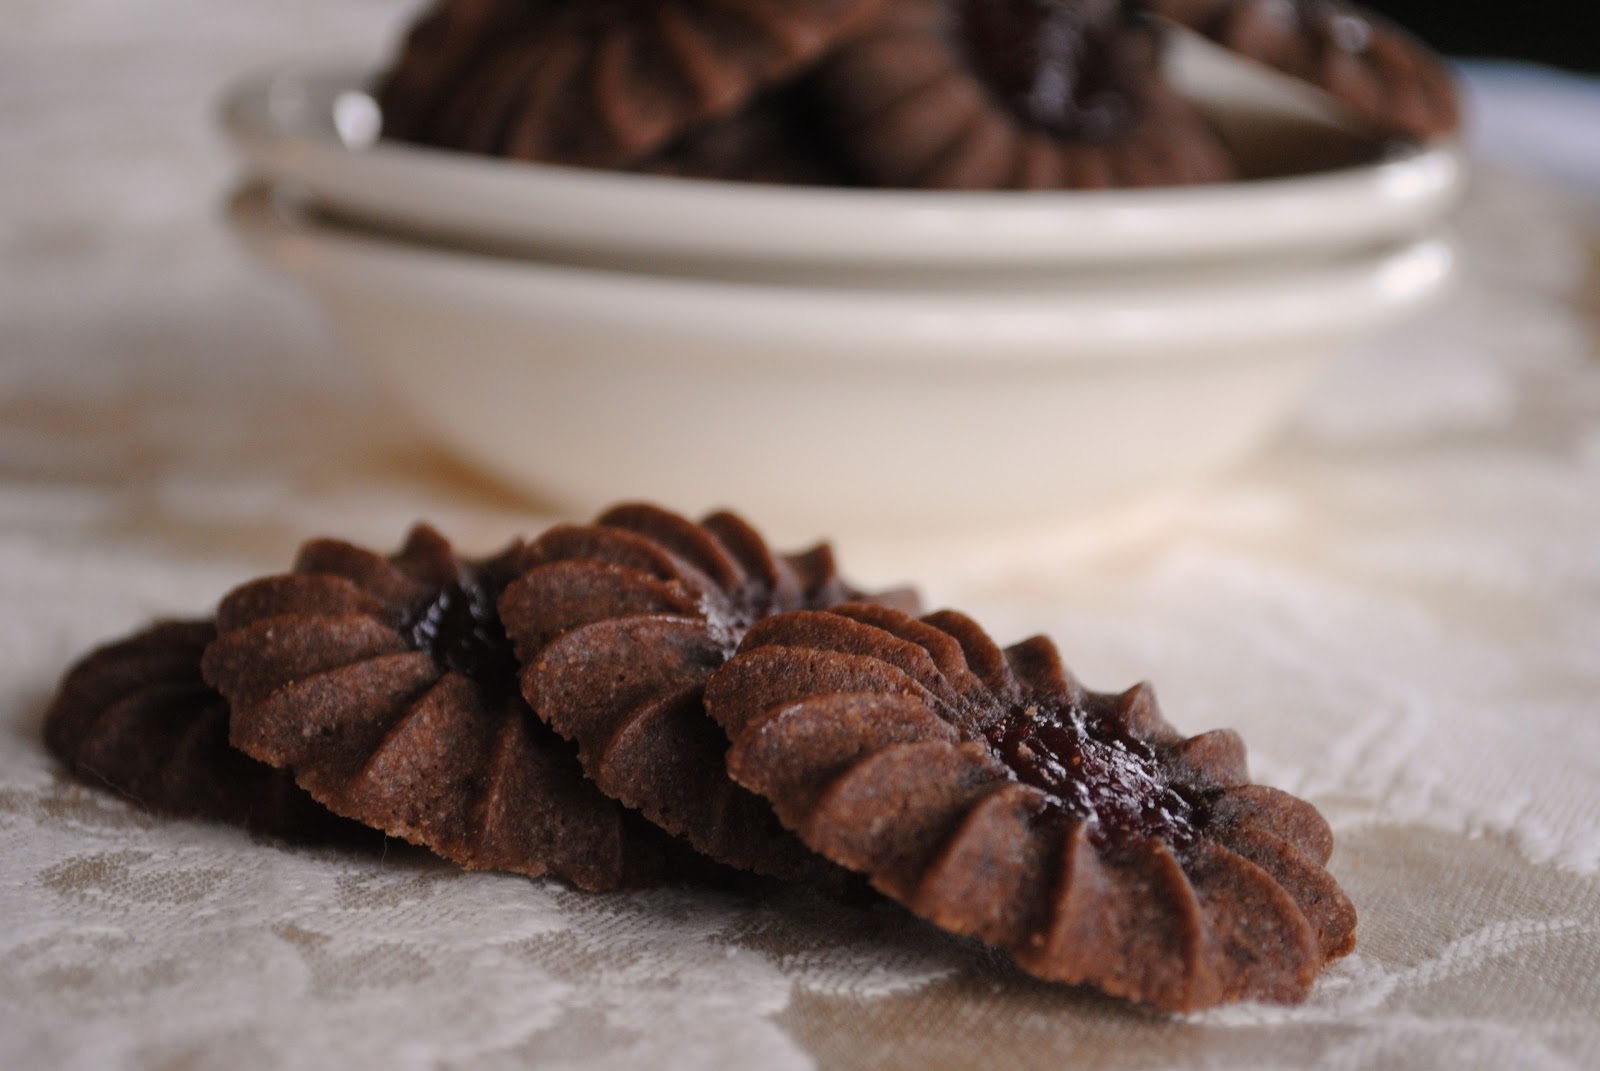
Chocolate Cherry Sable Cookies


Pin It!


At some point over the last few years, I decided that I really quite enjoy my own company. I mean, I'm really funny and clever, I have great taste in shoes, as evidenced by my wall-sized shoe rack (no, really, I may have a problem) and I'm always up for trying new things.


And being alone while I bake with my flour-dusted laptop and a cheesy Netflix/Hulu movie and/or murder mystery (not the really gruesome, scary kind, I'm more of a "Bones" and "Murder, She Wrote" fan) just gives me time to think and relax.


I only occasionally get distracted and burn trays of cookies (no timer in this apt here), but lucky for you, that's the hardest part! As long as you remember to take these puppies out of the oven, they're really simple and look so elegant!

Also, they're a kind of butter cookie, if that tells you anything...yum!

Chocolate Cherry Sable Cookies [click to print]
Makes about 4 dozen cookies
  • 4 oz butter, softened
  • 2 oz sugar
  • 1 egg, lightly beaten
  • 5 oz cake flour
  • 1-1/2 T. cocoa powder
  • 1/4 c. cherry jam
1) Preheat oven to 350 F. Line baking sheet with parchment paper and set aside. 

2) In stand mixer, beat butter for about 20-30 seconds until smooth-ish. Slowly add in the sugar. Slowly add the egg. Add a small scoop of flour and beat until ingredients just pull together. Add remaining flour all at once and mix until just combined, scraping sides of bowl as necessary. 

3) Fit piping bag with a large star tip (I used #3B). Pipe dough onto prepared sheet, spacing about 1-1/2" apart. Dip your finger, or the end of a wooden spoon, in cocoa powder and press a dent in the center of the piped cookies. 

4) Fill ziploc sandwich bag with jam and snip off a small corner. Squeeze small amount of jam into depression in cookies. Refrigerate about 5 minutes until firm then bake for 8-11 minutes. Allow cookies to cool on sheet about 3 minutes before removing to wire racks to cool completely. 

Source: Adapted from L'Academie de Cuisine

Thursday, December 6, 2012

Hazelnut Ripple Banana Bread


Pin It!

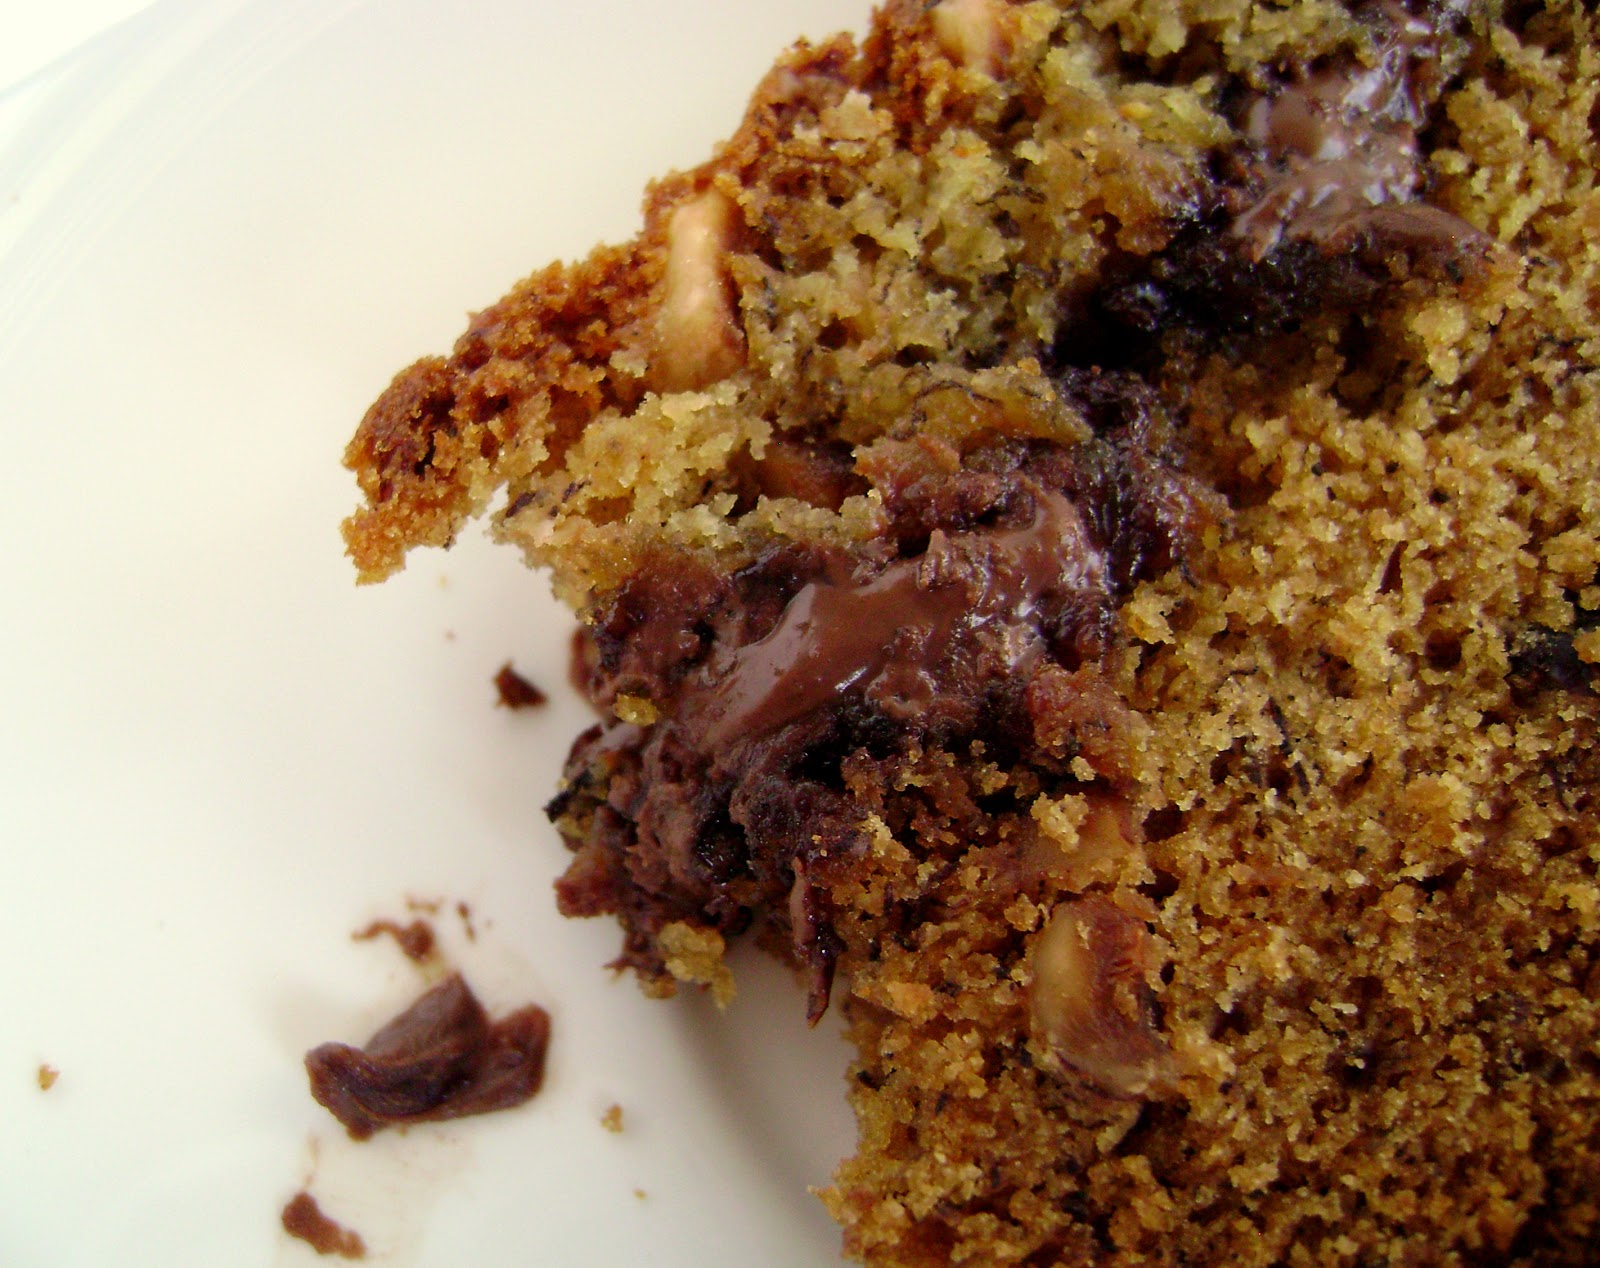
I had a jar of Nutella stashed in my pantry, staring me down. And then something happened to it and it disappeared. So...I didn't buy that stuff again until just recently due to my severe lack of self control. And now here it is, half a jar sitting all warm and creamy between layers of fluffy, moist banana bread, speckled with chunks of hazelnuts. Oh, my goodness.


I tried a few different recipes before getting this one down. Other versions swirl the Nutella through the top of the loaf, but that lets the chocolate overcook and get kind of dry and crumbly and burned before the bread is actually done baking. If you make a thick gooey layer in the middle, it stays exactly that way---thick and gooey. 


This is a perfect cold day sweet bread, especially if you eat it straight out of the oven with a glass of milk. Or in one hand on your way to work. Or for a light midday snack. It's pretty much good whenever. So yum.

Hazelnut Ripple Banana Bread [click to print]
Makes one loaf
  • 1/2 c. hazelnuts, coarsely chopped
  • 1-1/2 c. flour
  • 1 tsp. baking soda
  • 1/8 tsp. salt
  • 3 very ripe, extremely spotty bananas, mashed
  • 3/4 c. sugar
  • 1/3 c. unsalted butter, melted
  • 1 egg, slightly beaten
  • 1 tsp. vanilla extract
  • 1/2 c. hazelnut spread (i.e. Nutella)
1) Preheat oven to 350 F. Line 9x4 loaf pan with parchment paper, allowing 2-3" overhang on each side of pan, or coat generously with nonstick cooking spray and set aside.

2) On another baking sheet, spread hazelnuts in an even layer and toast in oven about 12-15 minutes; or until fragrant and just barely browned. Remove from oven and allow to cool. Whisk together with flour, soda and salt; set aside.

3) In large bowl, mix bananas, sugar, butter, egg and vanilla, beating until well combined. Add flour mixture, in about two additions, mixing until just incorporated. 

4) Pour about half of the banana batter into the pan. Heat hazelnut spread about 15 seconds in microwave to soften and spread evenly over batter. Scoop remaining batter over last layer and spread evenly. Bake 50-60 minutes. Allow to cool in pan about 10 minutes, then remove to wire rack to cool completely. 

Source: Adapted from Lovin From the Oven
Related Posts Plugin for WordPress, Blogger...